Mysql 5.7 免安装版windows安装完整教程
目录
1. 配置mysql环境变量
2.修改my.ini文件
1) 设置base和data目录
3.安装mysql服务
4. 初始化数据库
5. 启动mysql服务,访问mysql数据库
6. 如果忘记密码了怎么办?
1) 修改my.ini文件
2)在powershell里重启mysql服务
3)重启完毕后,就不需要密码就能进入到数据库。 选择数据库mysql,然后修改密码,命令如下:
4) 将my.ini文件里的 skip-grant-tables 注释掉,然后重启mysql,重新访问mysql,输入密码就能访问mysql数据库啦!
7. 解决应用无法连接问题
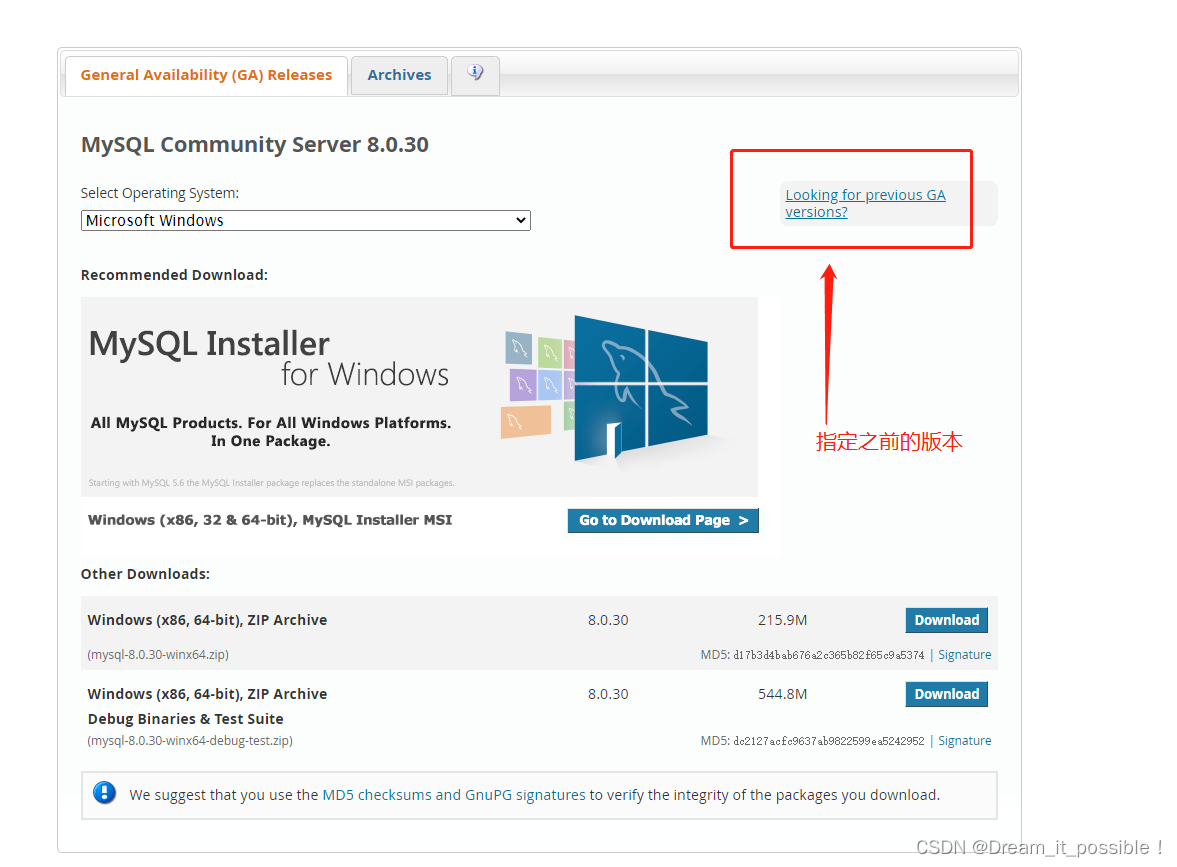
mysql免安装版官网下载地址:
MySQL :: Download MySQL Community Server
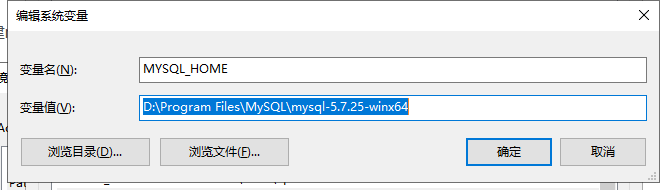
1. 配置mysql环境变量
新建mysql系统环境变量,值选择mysql的根目录
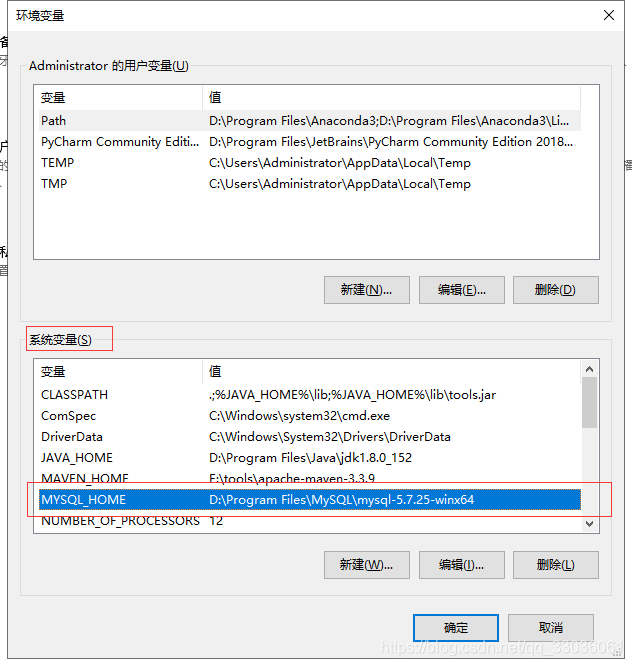
在path变量里添加:
%MYSQL_HOME%bin
2.修改my.ini文件
1) 设置base和data目录
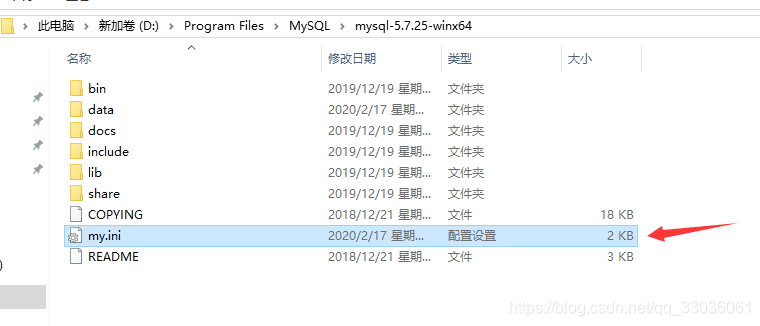
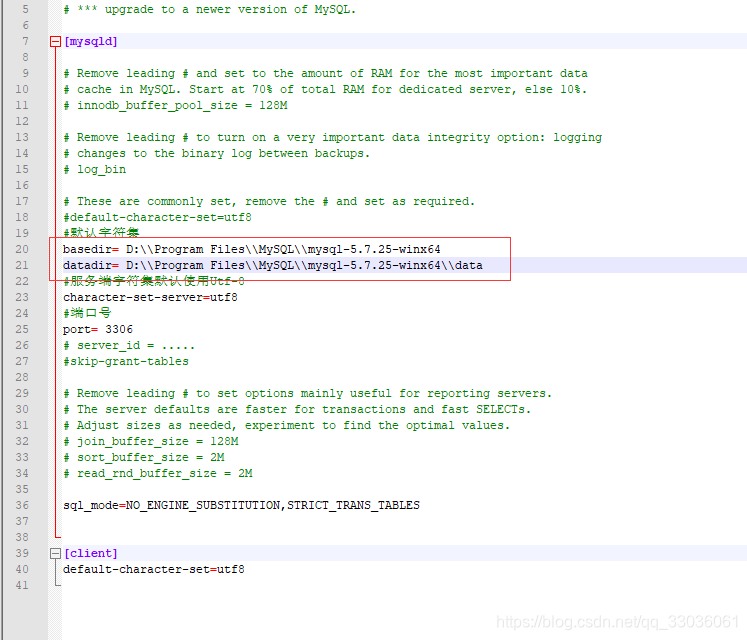
my.ini 文件内容:
# For advice on how to change settings please see
# http://dev.mysql.com/doc/refman/5.6/en/server-configuration-defaults.html
# *** DO NOT EDIT THIS FILE. It's a template which will be copied to the
# *** default location during install, and will be replaced if you
# *** upgrade to a newer version of MySQL.
[mysqld]
# Remove leading # and set to the amount of RAM for the most important data
# cache in MySQL. Start at 70% of total RAM for dedicated server, else 10%.
# innodb_buffer_pool_size = 128M
# Remove leading # to turn on a very important data integrity option: logging
# changes to the binary log between backups.
# log_bin
# These are commonly set, remove the # and set as required.
#default-character-set=utf8
#默认字符集
basedir= D:\Program Files\mysql-5.7.37-winx64
datadir= D:\Program Files\mysql-5.7.37-winx64\data
#服务端字符集默认使用Utf-8
character-set-server=utf8
#端口号
port= 3306
# server_id = .....
# Remove leading # to set options mainly useful for reporting servers.
# The server defaults are faster for transactions and fast SELECTs.
# Adjust sizes as needed, experiment to find the optimal values.
# join_buffer_size = 128M
# sort_buffer_size = 2M
# read_rnd_buffer_size = 2M
sql_mode=STRICT_TRANS_TABLES,NO_ZERO_IN_DATE,NO_ZERO_DATE,ERROR_FOR_DIVISION_BY_ZERO,NO_AUTO_CREATE_USER,NO_ENGINE_SUBSTITUTION
[client]
default-character-set=utf8
3.安装mysql服务
打开power shell命令窗口,执行命令:
mysqld --install
安装成功后,会提示service安装成功!
如果安装失败,并提示缺失dll库,可尝试安装msvcp120.dll库和msvcr120.dll库:
Download Msvcp120.dll for Windows 10, 8.1, 8, 7, Vista and XP - 32 Bit and 64 Bit
Download Msvcr120.dll for Windows 10, 8.1, 8, 7, Vista and XP - 32 Bit and 64 Bit
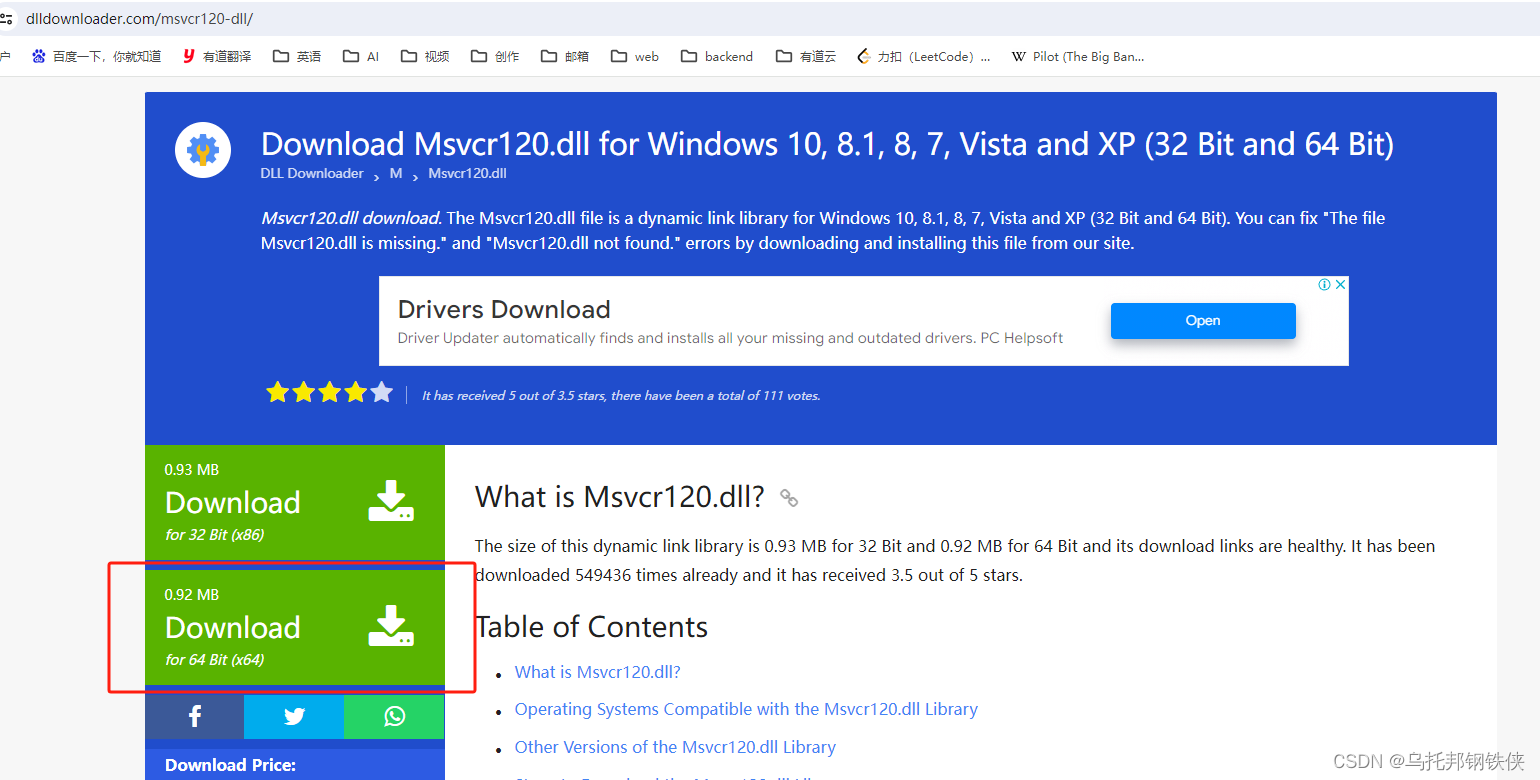

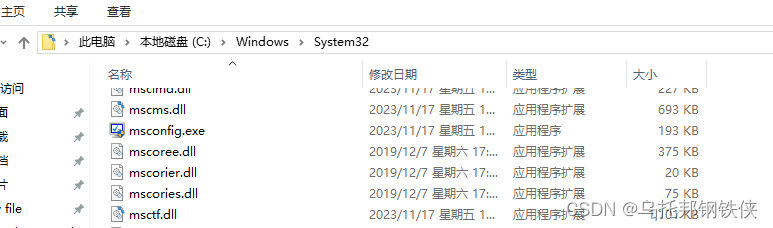
并将下载好的dll库放到指定目录下: C:WindowsSystem32
然后重新打开命令窗口,用管理员身份运行即可解决!
4. 初始化数据库
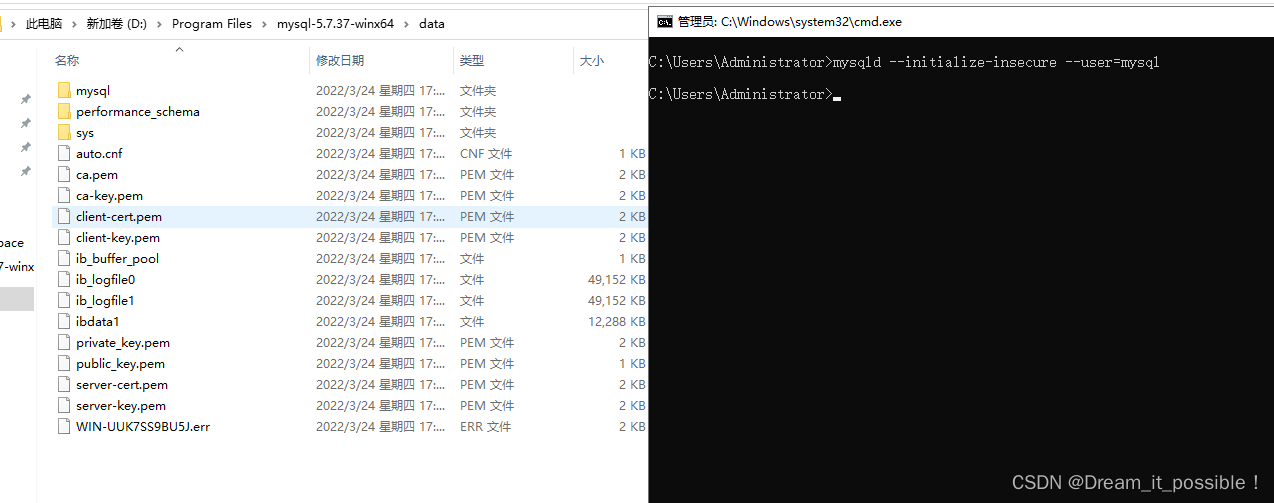
免安装版中不会自动创建数据库,因此我们需要手动创建:
mysqld --initialize-insecure --user=mysql;
初始化的数据库会存放在my.ini配置文件里指定的data目录里。
如果初始化失败,首先检查my.ini配置是否正确,然后删除掉data目录里的所有内容,然后重新执行初始化命令 mysqld --initialize-insecure --user=mysql;
5. 启动mysql服务,访问mysql数据库
net start mysql
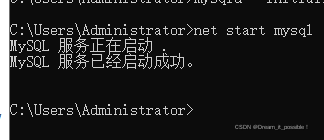
mysql -u root -p
然后输入密码即可!
6. 如果忘记密码了怎么办?
1) 修改my.ini文件
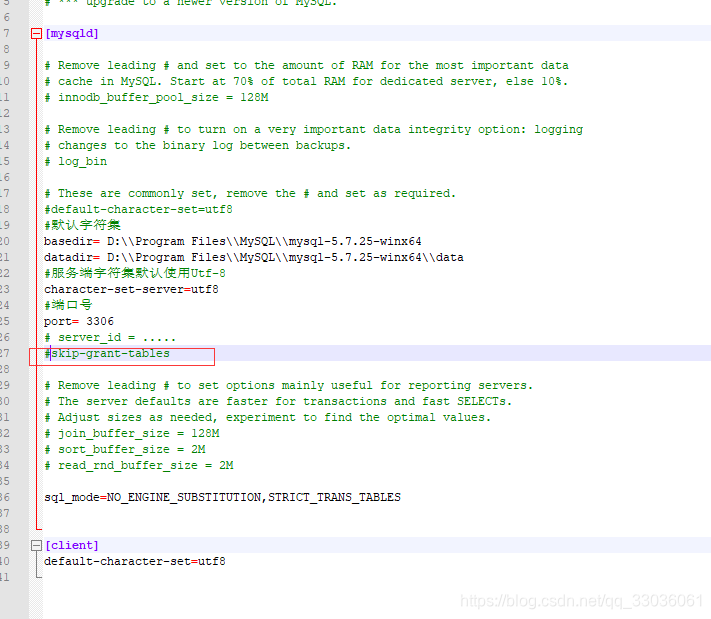
将代码 skip-grant-tables 放开。
2)在powershell里重启mysql服务
net stop mysql
net start mysql
3)重启完毕后,就不需要密码就能进入到数据库。 选择数据库mysql,然后修改密码,命令如下:
use mysql;
update user set authentication_string=password("123456") where user="root";
更新完密码后,仍然需要重新mysql服务才可生效, 重新在cmd窗口执行如下命令:
net stop mysql
net start mysql
7. 解决应用无法连接问题
新装好的mysql server一般会出现不让连接的情况,需要在mysql数据库里的user表里添加一个host为"%"的记录。
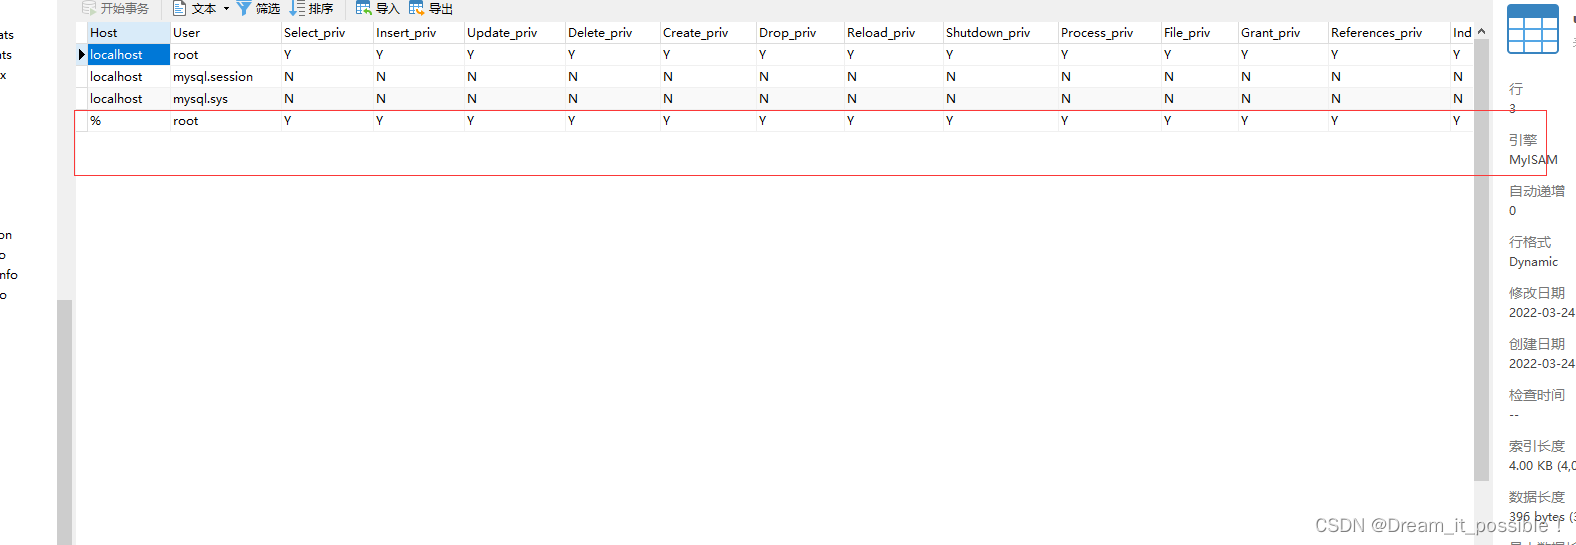
插入sql脚本;
INSERT INTO `mysql`.`user`(`Host`, `User`, `Select_priv`, `Insert_priv`, `Update_priv`, `Delete_priv`, `Create_priv`, `Drop_priv`, `Reload_priv`, `Shutdown_priv`, `Process_priv`, `File_priv`, `Grant_priv`, `References_priv`, `Index_priv`, `Alter_priv`, `Show_db_priv`, `Super_priv`, `Create_tmp_table_priv`, `Lock_tables_priv`, `Execute_priv`, `Repl_slave_priv`, `Repl_client_priv`, `Create_view_priv`, `Show_view_priv`, `Create_routine_priv`, `Alter_routine_priv`, `Create_user_priv`, `Event_priv`, `Trigger_priv`, `Create_tablespace_priv`, `ssl_type`, `ssl_cipher`, `x509_issuer`, `x509_subject`, `max_questions`, `max_updates`, `max_connections`, `max_user_connections`, `plugin`, `authentication_string`, `password_expired`, `password_last_changed`, `password_lifetime`, `account_locked`) VALUES ('%', 'root', 'Y', 'Y', 'Y', 'Y', 'Y', 'Y', 'Y', 'Y', 'Y', 'Y', 'Y', 'Y', 'Y', 'Y', 'Y', 'Y', 'Y', 'Y', 'Y', 'Y', 'Y', 'Y', 'Y', 'Y', 'Y', 'Y', 'Y', 'Y', 'Y', '', '', '', '', 0, 0, 0, 0, 'mysql_native_password', '*81F5E21E35407D884A6CD4A731AEBFB6AF209E1B', 'N', '2022-03-14 09:05:13', NULL, 'N');
或者使用更新脚本, 将root用户的host设置为% , host="%"即可。
use mysql;
update user set host='%' where user='root'l;
相关文章
 优化GreatSQL日志文件空间占用 GreatSQL对于日志文件磁盘空间占用,做了一些优化,对于binlog、...03-18
 "数据约束条件" date: 2022-11-24T21:24:31 08:00 draft: false MySQL字段约束条件 无符号, 零填充...03-18
【GreatSQL优化器-16】INDEX_SKIP_SCAN
【GreatSQL优化器-16】INDEX_SKIP_SCAN 一、INDEX_SKIP_SCAN介绍 GreatSQL 优化器的索引跳跃扫描(Index Ski...03-18 MySQL 是一个非常流行的开源关系数据库管理系统,在各种应用场景中都得到了广泛的应用。随...03-18
 🤖 DB-GPT 是一个开源的 AI 原生数据应用程序开发框架,具有 AWEL(代理工作流表达式语...03-18
GreatSQL 8.0.32-27 GA (2025-3-10)
GreatSQL 8.0.32-27 GA (2025-3-10) 版本信息 发布时间:2025年3月10日 版本号:8.0.32-27, Revision aa66a38591...03-18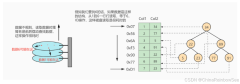 6. MySQL 索引的数据结构(详细说明) @目录6. MySQL 索引的数据结构(详细说明)1. 为什么使用索引2...03-18
- @Override @Transactional(rollbackFor = Exception.class) public void batchInsertDeviceData(IotMsgNotifyData iotMsgNotifyDa...03-18
 个人Qt项目总结——数据库查询断言问题 问题: 当我使用MySQL数据库的查询操作时, 如果查询...03-18
- MySQL 是一种广泛使用的关系数据库管理系统,MySQL 8 是其最新的主要版本,结合了出色的性能和...03-18
最新评论